Being tall, I tend to be ride hunched over when standing on the pegs. Speaking to some of the other riders, they suggested that I install handlebar risers to help improve my posture. A trip to the local bike shop and the price was more than I was willing to pay. So was born the task to manufacture them. A good project to be done with my father, who’s workshop I “commandeered” to carry out the task.

Splitting the Bar
Step #1: Take one block of Aluminium (6062). Slice off the required amount for each riser. Oops, here comes the first problem, the motor in the cut-off saw decided to cook itself before getting to the end of the first piece. Once the smoke has been let out, it’s very difficult to put it back in. We have a milling machine available, so mill away. Not particularly effective from a material perspective, and I didn’t have a script that I could run, so it did take a little time to complete.
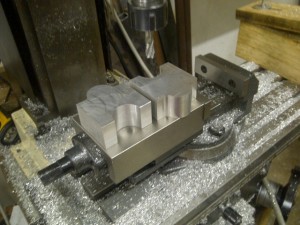
Step #2: Surface the blocks to create two nice equal blocks from which to work. We installed a nice large diameter end mill into the milling machine and milled away until a thinkness of 27.0 mm was achieved. Pretty easy to work accurately with a CNC milling maching running Mach 3.

Surfacing Blocks
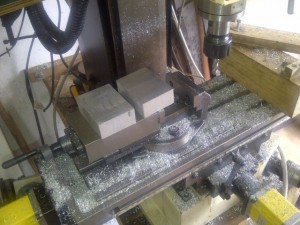
2 Blocks Ready for Machining
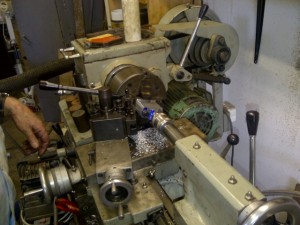
Step #3: Create the the male and female forms for the risers to fit into where the handlebars are originally installed, and to grip the handlebars in their new position respectively. The first was the male portion, that was first rough milled, and then a final cut was taken. Interesting to note, cutting fluid tended to block the clearing of the swarf during the rough cut, but really helped during the final cut.
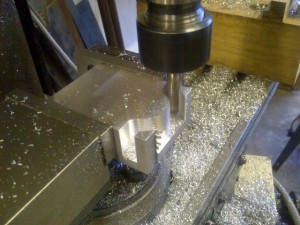
Rough Cutting Male Side
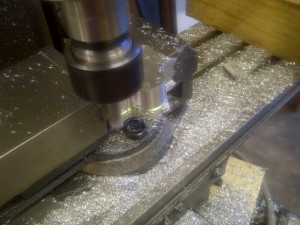
The female portion in which the handlebars will finally rest was then machined. The machining was done on the “back” side and concetration was the order of the day to ensure that I didn’t take a bite out of the vice and preclude any further invitation to use Dad’s workshop… 🙂
Rounding Off the Ends
Outline Shape Complete
Step #4: With the milling of the outline form complete, it was onto drilling the holes for the bolts. Sorry, no photo’s taken, but then again drilling isn’t the most exciting pastime… 🙂
Step #5: Last stage is to round off the edges of the blocks to provide a little class rather than just a block of aluminium. A careful setup using a mounting plate that was surfaced and then centred in a 4 jaw chuck.

Risers Installed
And of course the big question, do they work, definitely.